You’re struggling with a pesky parasitic draw on your Chevrolet van’s battery. Despite tireless efforts to locate the troublesome 3-amp drain, it remains elusive. Fear not, as a fellow vehicle enthusiast and problem-solver, I’m here to help you uncover the source and regain control over your electrical system.
1. Solving Parasitic Draw on Battery in 1984 Chevy Van (G30)
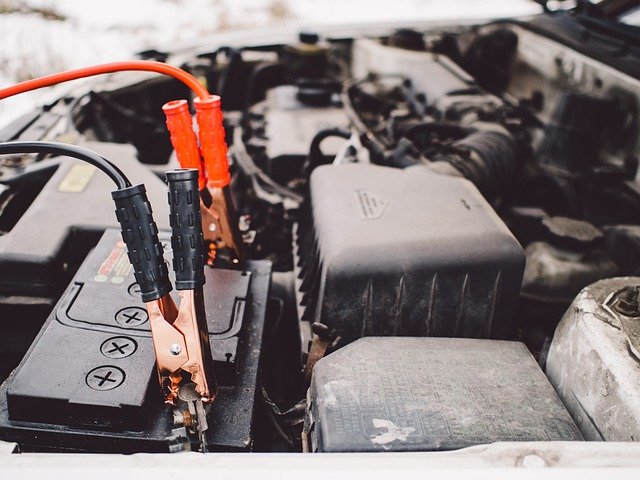
If you’re dealing with a parasitic draw on your 1984 V-8 Chevy van (G30) underneath your Lindy Class C RV, you’re not alone. The source of the 3-amp drain can be difficult to pinpoint, but there are steps you can take to troubleshoot the issue.
Start by checking your fuses, lights, and other electrical components, making sure everything is turned off. If the meter continues to show 3 amps flowing, try unplugging the alternator. If the meter drops way down, the alternator may be the problem.
When installing a new alternator, be aware that the rectifier can fail due to various reasons, such as inappropriate jumper cable connection, severe overload, or age. If you accidentally unplug wires during your troubleshooting, don’t panic.
A pink/black wire likely goes to the dash/instrument/gauges and may be connected to a fuse marked “GAUGE” with adjacent spade terminals marked “IGN.”
Finally, if you’re having trouble accessing your fuse block, try looking for a bolt in the center that, when taken out, may allow the fuse assembly to swing out and down for easier access. With these tips and resources, you’ll be able to resolve the parasitic draw issue and avoid costly mechanic fees.
You may watch this video for more details.
2. Intermittent Battery Drain in 1992 Chevy G-20 Mark III Causing Parasitic Draw
If you’re experiencing a parasitic drain in your 1992 Chevy G-20 Mark III conversion van, you’re not alone. The issue could be with the electric locks, power windows, cruise control, or even the wipers. Although you may have checked the wiper motor, it’s still worth exploring as sometimes wiper motors that don’t find the home position can still have a draw.
You’ve done quite a bit to troubleshoot the problem, but there are a few more things you can do. First, consider borrowing another voltmeter to ensure that your DVM is accurately reading the draw. Additionally, take the battery in to have it load tested to eliminate it as a culprit.
You’ve already pulled every fuse in the fuse box, but it’s worth noting that there could be a hidden one somewhere. Make sure to thoroughly search the van to ensure that you’ve checked every possible fuse. It’s also worth noting that the starter may be causing the drain. Lastly, consider using a “thermal image” camera as a last resort.
In my opinion, you cannot measure the self-discharge of a battery using an ammeter. To test if your battery has a soft short or excessive self-discharge, fully charge it, disconnect it from any potential parasitic draw, and then measure the resting voltage. Measure it again after one hour, 12 hours, and 24 hours. If the voltage stays above 12.8v after one hour and above 12.6v after 24 hours, then it is likely to be good to go for a while longer
After troubleshooting, you discovered that the biggest issue was the headlight switch, which had a corroded spring that was making contact from time to time. You also found that the wiring to the aftermarket radio was not up to par, and you discovered that a visor had a mirror light that did not shut off when the cover was closed. Lastly, the battery was weak, but you were able to get it covered under warranty.
Now that you’ve resolved the issue, it’s time to have some fun. You can clean up the conversion van wiring, change out the factory dash speakers, and even install a double DIN radio with a backup camera.
3. Battery drain issue in 1996 Chevrolet Sportvan G30
If you’re facing battery drain issues in your 1996 Chevrolet Sportvan 3 Dr G30 Beauville Passenger Van, and you’ve ruled out the battery, starter, or alternator, there could be other culprits.
First, charge the battery fully and disconnect the battery cable overnight to see if it still dies. If so, it could be an internal battery short, which is common in batteries older than five years. Another possibility is a faulty alternator with “leaky” shorted diode.
To identify the specific circuit causing the drain, use a test light or voltmeter to check the readings of each fuse one at a time. Before performing any repairs, follow the instructions for parasitic drain, and ensure you have the necessary tools, such as a multimeter.
Check the battery voltage, look for a purchase date, and start the car to see if the alternator is working correctly, and the battery has 14+ volts. Additionally, old trucks like this may have wiring issues, and rodents can invade even daily drivers, so keep an eye out for any signs of damage.
4. Battery dies overnight (Chevy Van G20)
If your Chevy Van G20 battery is new, but it dies overnight even when the car runs fine all day, you may have a power drain issue that needs troubleshooting. Start by disconnecting the battery to see if it still drains overnight. If it does, someone would need to pull fuses and disconnect components to find the drain while watching the battery with a meter.
You may have a voltage drop in the battery feed to the Alternator through the fuse link and into the battery. Check the charge rate at the battery feed on the Alternator, and locate the fuse link to check it on both sides. If the voltage suddenly drops across a connection or the fuse link, remove and clean the connection or replace it if possible.
Finally, consider changing the coolant temp sensor located at the front of the engine on the top, as it may be faulty and causing the battery drain issue. Undertake these tests to identify the problem and get your Chevy Van G20 running smoothly again.
5. Electrical Drain Issues in Chevrolet Van and Fixes
If you are experiencing battery drain issues in your Chevy van, there are a few potential causes you can investigate.
One common culprit is a faulty voltage regulator or alternator. However, other issues such as a bad hood light switch or a shorted wire harness can also drain the battery.
To test for parasitic drain, use a multimeter set to DC amps and disconnect the negative battery cable. The reading should be around 0.010 to 0.020 milliamp, depending on your vehicle’s accessories. If the reading is high, you can try removing one fuse at a time to identify the problematic circuit.
One Chevy van example found that a wire harness incorrectly reinstalled by the dealer was intermittently shorting out to the exhaust manifold, causing battery drain. Therefore, it is essential to check for any faulty wiring or connections.
Final Words
In conclusion, if you’re experiencing a parasitic battery drain in your classic vehicle, don’t lose hope. With a little patience and persistence, you can find the root of the problem and fix it. Whether it’s checking fuses, unplugging the alternator, or using a multimeter to troubleshoot, there are plenty of steps you can take to get your electrical system back on track. And with the right tools and resources, you can avoid costly mechanic fees and enjoy your ride to the fullest.